
Proper disinfection of dental impressions is not just a best practice—it’s a critical step in infection control that protects your patients, your staff, and your laboratory team. Failing to adequately disinfect an impression can become a vector for cross-contamination, carrying blood, saliva, and microorganisms from the operatory to the lab bench.
This guide will walk you through the why, how, and what of dental impression disinfection, with special attention to the delicate nature of alginate impressions.
Why Disinfection is Non-Negotiable
Dental impressions are classified as semi-critical items by the CDC. While they do not penetrate soft tissue, they come into contact with mucous membranes and oral fluids, which may contain pathogens like hepatitis B, HIV, herpes simplex virus, and countless bacteria. Effective disinfection breaks this chain of transmission, ensuring a safe workflow from chairside to the final model.
General Principles for All Impression Materials
Before disinfecting any impression, follow this pre-disinfection protocol:
1. Rinse Thoroughly: Immediately after removal from the mouth, rinse the impression under a steady stream of cool, running water to remove blood, saliva, and debris. This step significantly reduces the bioburden.
2. Shake Off Excess Water: Gently shake to remove pooling water, but avoid spraying or aggressive actions that could damage detail.
Recommended Disinfection Methods
There are two primary, universally accepted methods for disinfecting dental impressions:
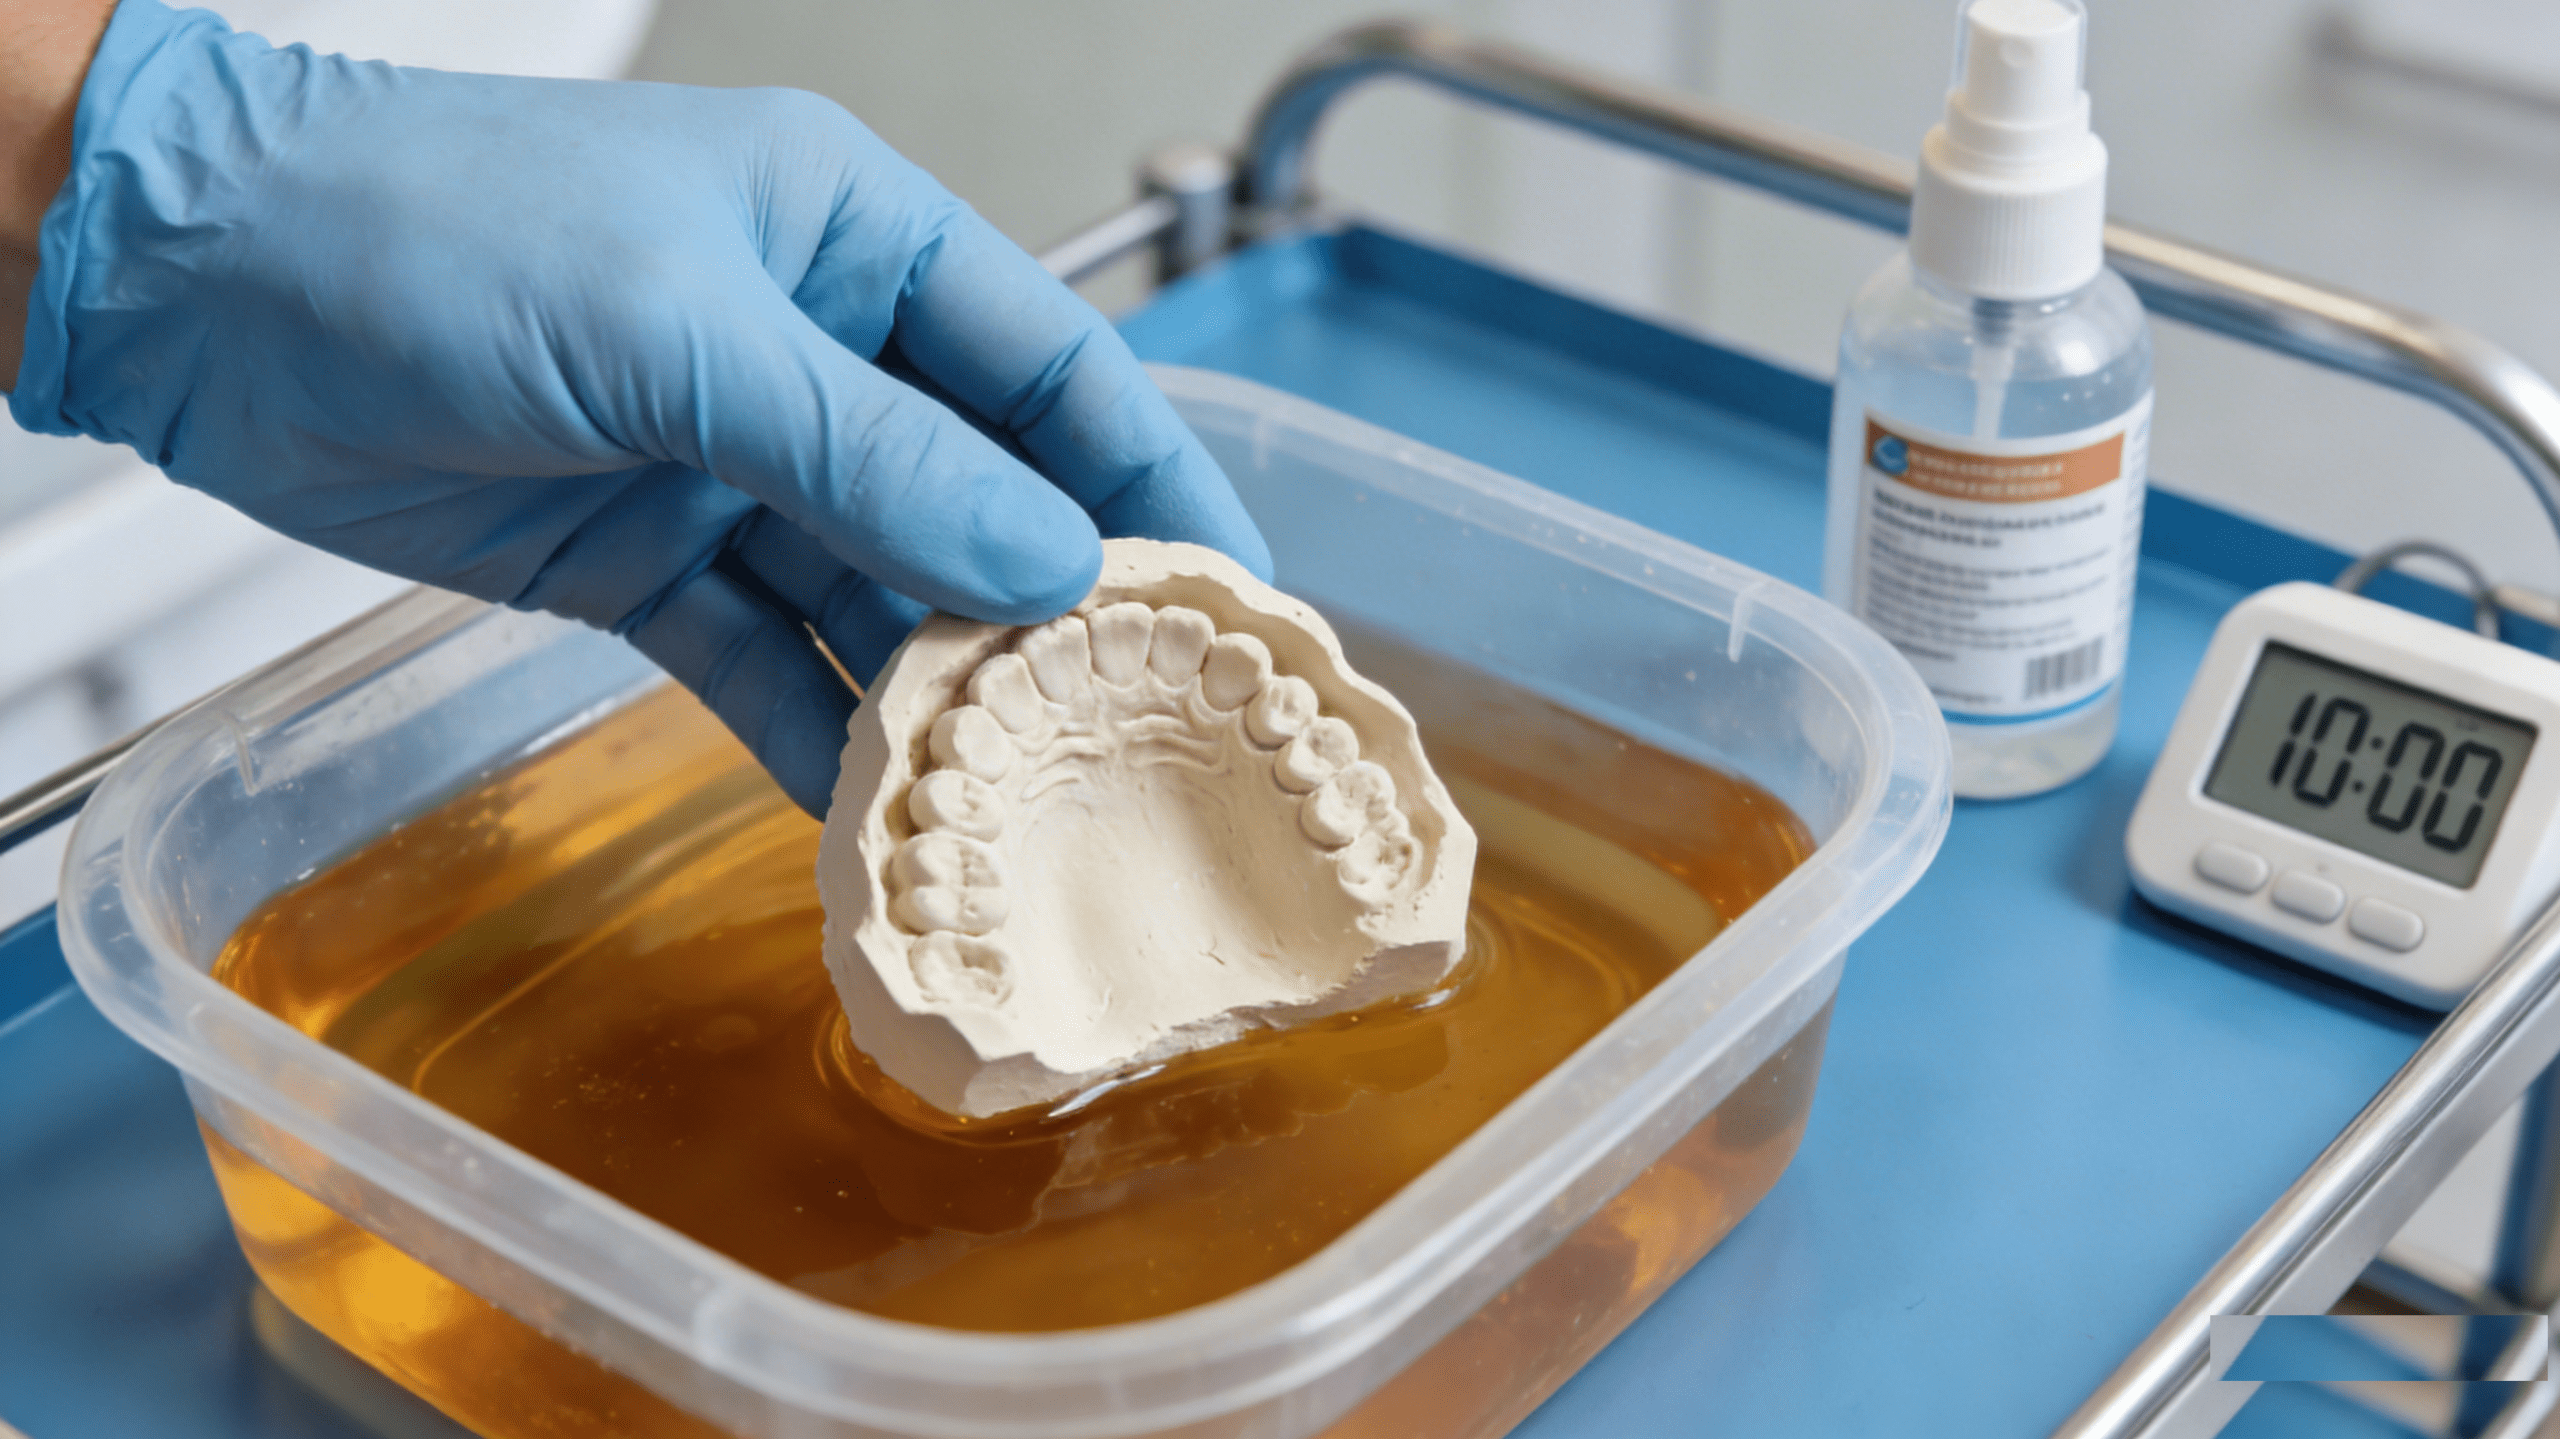
1. Immersion Disinfection (Gold Standard)
This is the most effective method as it ensures all surfaces are contacted by the disinfectant solution.
Process: Submerge the rinsed impression completely in a fresh, EPA-registered hospital-grade disinfectant solution.
Key Factors: Concentration, immersion time, and material compatibility are crucial. Always follow the manufacturer’s instructions for both the impression material and the disinfectant.
2. Spray Disinfection
Used for materials that cannot be immersed without risk of distortion (though immersion is preferred when possible).
Process: After rinsing, thoroughly spray all surfaces of the impression with a disinfectant spray, place it in a sealed plastic bag for the manufacturer’s recommended contact time.
Limitation: It can be difficult to ensure complete coverage of all intricate surfaces.
How to Disinfect Alginate Impressions
Alginate (irreversible hydrocolloid) is particularly challenging due to its hydrophilic and dimensionally unstable nature. It can absorb water from wet disinfectants or lose water to dry environments, leading to distortion, shrinkage, or swelling.
Best Practices for Alginate:
Disinfect Immediately: Do not let the impression dry out. Proceed from rinse to disinfection within minutes.
Choose the Right Disinfectant: Use a disinfectant specifically recommended for alginate by the material manufacturer. Commonly compatible options include:
1. Iodophors (e.g., 1:213 dilution)
2. Sodium Hypochlorite (Diluted bleach, e.g., 1:10 household bleach, but verify as it can be harsh)
3. Phenolics, Glutaraldehydes, or Chlorine Dioxide solutions at appropriate, mild concentrations.
4. Avoid acidic disinfectants, as they can degrade the alginate.
Optimize Immersion Time: Short immersion is key. Typical recommended times range from 5 to 10 minutes. Prolonged immersion (>30 minutes) will almost certainly cause distortion. Spray disinfection with a shorter contact time (e.g., 10 minutes) is a common and safer alternative for alginate.
Rinse and Pour Promptly: After disinfection, rinse the alginate impression briefly with water to remove residual disinfectant. Pour the model immediately to minimize ongoing dimensional change.
Disinfection Guide for Other Common Materials
| Impression Material | Preferred Method | Notes & Tips |
| Silicones (PVS & ATS) | Immersion | Very stable. Compatible with most disinfectants. Can be immersed for 10-30 minutes. |
| Polyethers | Immersion or Spray | Can absorb water and swell. Use disinfectants with low water activity or spray method. Follow material-specific guidelines closely. |
| Polysulfides | Immersion | Generally stable. Compatible with most common disinfectants. |
| Impression Compound | Spray | Immersion in cold disinfectant is acceptable, but spray is often easier. |
Step-by-Step Standard Operating Procedure (SOP)
- Prepare: At chairside, have your disinfectant and a labeled container ready.
- Remove & Rinse: Remove impression, rinse under cool water for 15-20 seconds.
- Shake & Inspect: Shake gently and visually inspect for remaining debris.
- Disinfect: Place in immersion solution or spray thoroughly, ensuring complete coverage.
- Time: Set a timer for the exact recommended contact time.
- Rinse Again: Remove and rinse with water to eliminate disinfectant residue.
- Communicate: Place the disinfected impression in a clean bag labeled “DISINFECTED” with the patient’s name and date. This is a critical step for lab communication.
- Pour/Store: Pour the model promptly (especially for alginate) or store as per material guidelines.

